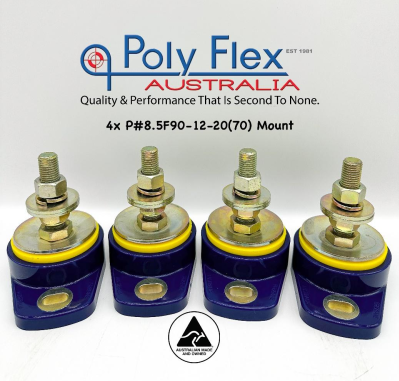
When maintaining a vessel, one of the most overlooked components is the engine mounting system. While polyurethane engine mounts may not be glamorous, this component plays a vital role in the engine room. Polyurethane engine mounts connect the engine’s power and the vessel’s hull, making it crucial to have a robust and well-designed engine mounting system.
When a customer purchases engine mount replacements, it is important to ensure installation is done correctly. Improper engine mount installation is often the cause of poor replacement engine mount performance. Replacing engine mounts correctly ensures your investment is protected and avoids premature wear of the engine, prevents damage and most importantly, improves the overall customer experience.
Below is some critical information to consider ensuring the best fit if you want to install your replacement engine mounts yourself:
Parallel Is Your Friend:
Installing the engine mount replacements parallel to the engine’s centreline is essential. The engine bed/bracket must be parallel to both planes (the mounting surface must be parallel with the engine crankshaft centerline). If the engine mount replacements are not installed parallel, they will become “point loaded”, with one end of the polymer core compressed and the other unevenly tensioned. This could result in poor performance, a higher potential for stud fracturing, or premature failure.
Height Matters:
It is important the engine bracket isn’t posted too high on the engine mount replacement stud. The engine bracket is supported by the adjusting stud. Ideally, the engine bracket should sit as low as possible on the adjusting stud. The higher the bracket sits on the adjusting stud, the more stressed the stud becomes from the propeller’s thrust risking a break. Over-extending can lead towards broken studs or failure due to thrust because the polymer core is deformed. If the brackets end up too high on the stud, shimming is the solution. Shim the engine mount replacement from the bottom using a non-compressible material such as steel, aluminium, fibreglass, or polyurethane.
Support The Engine Mounts Properly:
Engines mounted on weaker stringers can lead to transmission failures. This is due to the most damaging part of the misalignment being taken by the transmission coupling and output shaft bearings. If the engine mount replacements can’t be installed directly on the stringer, building heavy-duty brackets that don’t flex is recommended.
Use The Correct Hardware:
When securing the engine mount replacements to the stringer, stainless steel hardware doesn’t have the tensile strength and rigidity needed for most installations. The ideal fastener is high tensile to handle the expected loads, and washers should be thick and heavy-duty.
Ensure The Load Is Equal:
Each engine mount must carry the appropriate load. Different loaded engine mount replacements can cause an imbalance, resulting in poor isolation and premature failure. Unevenly loaded engine mount replacements can, in fact, cause more vibration, defeating the purpose of an isolation mounting system. The ideal goal is to balance the weight of the engine/gearbox on each engine mount for the most even distribution.
Ensure The Surface Is Clean:
Mating surfaces should not be painted. Under heavy compression, even a thin layer of paint can cause a loss of tension. Ensure the engine bed is clean of any debris or rust before installing the engine mount replacements.While it is possible to perform engine mount replacements yourself, you may wish to consult with an expert and consider professional installation. For more information regarding replacement mounts, speak to the team at Poly Flex, who are experienced engine mount suppliers, or search here. Otherwise, please contact us today for all your engine mounting requirements.